How to Assemble a Pulley
Understanding how to assemble a pulley is a crucial skill, whether you’re a hobbyist, a professional mechanic, or someone who simply enjoys DIY projects. The pulley is a simple machine that has been used for centuries to lift heavy objects with ease. Assembly is straightforward, and with the right knowledge, you can easily set up a pulley system in your own home or workspace.
Understanding the Pulley System
Before we delve into assembling a pulley, let’s understand what a pulley system is. A pulley is a wheel on an axle that is designed to support movement and change of direction of a taut cable, belt, or other flexible line. Pulleys are used in various ways to lift loads, apply forces, and to transmit power. The primary purpose of a pulley is to make work easier.
Components of a Pulley
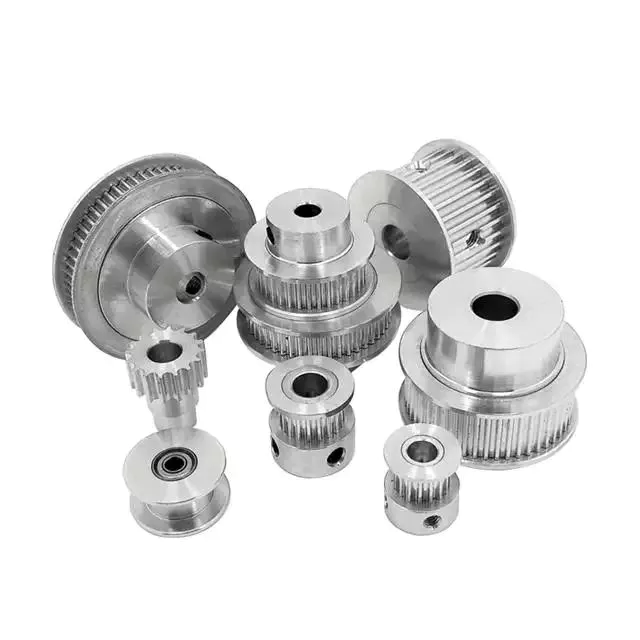
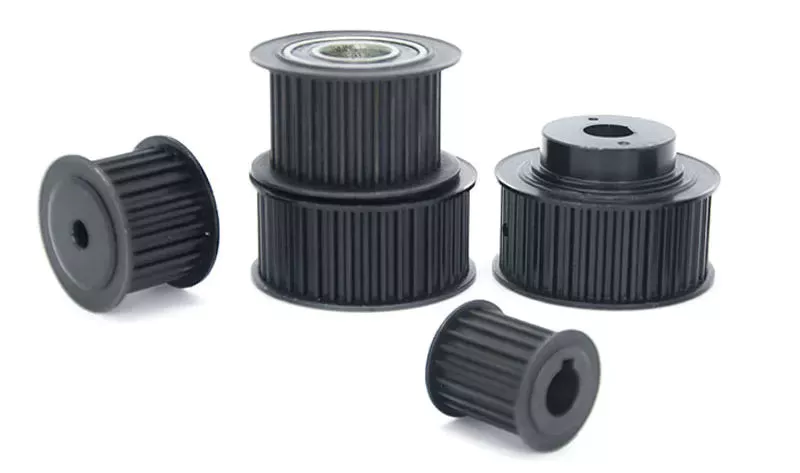
A pulley system consists of a few crucial components. These include the pulley wheel, the axle, the frame, and the rope or belt. The pulley wheel is the round object that the rope or belt moves around. The axle is the rod or spindle that the wheel rotates around. The frame holds the wheel and axle in place, and the rope or belt is used to lift or move the object.
Step-by-step Guide to Assembling a Pulley
Now that we’ve understood the basics, let’s get into the actual process of assembling a pulley. Here is a step-by-step guide to help you through this process.
1. Gather the Necessary Tools and Materials
Before you start assembling a pulley, ensure you have all the necessary tools and materials. These include the pulley wheel, an axle, a frame, a rope or belt, and tools such as a screwdriver or wrench.
2. Insert the Axle through the Pulley Wheel
First, take the pulley wheel and insert the axle through it. Ensure that the axle fits snugly into the wheel and that it can rotate smoothly. If it’s too tight or too loose, adjust as necessary.
3. Attach the Wheel and Axle to the Frame
Once the axle is properly fitted into the wheel, it’s time to attach this assembly to the frame. Position the axle in the frame’s holes or brackets and secure it using the appropriate fasteners. Ensure that the wheel can rotate freely in the frame.
4. Thread the Rope or Belt around the Wheel
With the wheel and axle secured to the frame, you can now thread the rope or belt around the wheel. Make sure that the rope is taut and fits well into the groove of the wheel.
5. Test the Pulley System
After everything is assembled, it’s important to test the pulley system to ensure it works properly. Pull the rope or belt to see if the wheel rotates smoothly. If there are any issues, adjust the components as necessary.
Conclusion
Assembling a pulley is a relatively simple process that can be accomplished with a basic understanding of its components and their functions. By following the above steps, you can assemble your own pulley system and understand the mechanics of this simple yet powerful machine. Whether for practical use or educational purposes, assembling a pulley is a worthwhile skill to have.