How to Align Tensioner Pulley
A tensioner pulley is an integral component of your vehicle’s engine. It ensures your engine belts function smoothly, and it’s essential for maintaining the correct tension on the drive belt. In fact, the effectiveness of your vehicle’s alternator, water pump, and air conditioner largely depends on the proper alignment of the tensioner pulley. In this article, we will guide you through a comprehensive, step-by-step approach on how to align a tensioner pulley.
Understanding the Importance of Tensioner Pulley Alignment
Before diving into the process, it is vital to understand why the alignment of the tensioner pulley is important. A misaligned tensioner pulley can cause problems like premature belt wear, component failure, and inefficient operation of your vehicle’s engine. Additionally, it can lead to inconvenient breakdowns and expensive repairs. Therefore, maintaining proper tensioner pulley alignment is crucial for the longevity and optimal performance of your vehicle.
Spotting Signs of Misalignment
Being able to identify the signs of a misaligned tensioner pulley is the first step towards rectifying the issue. You may notice abnormal noises, such as squealing or chirping, especially when the engine is running. Another sign could be excessive vibration, or the belt may show signs of wear and tear on the edges. If you observe any of these symptoms, it’s time to check the alignment of your tensioner pulley.
Tools Needed for Tensioner Pulley Alignment
Before you begin, gather all the necessary tools. You’ll need a wrench or ratchet and socket, a straight edge (like a ruler or a level), and a belt tension gauge. A flashlight might also come in handy to illuminate hard-to-see areas. It is advised to wear safety glasses and gloves to protect yourself while working.
Step-by-Step Guide to Aligning a Tensioner Pulley
Step 1: Locating the Tensioner Pulley
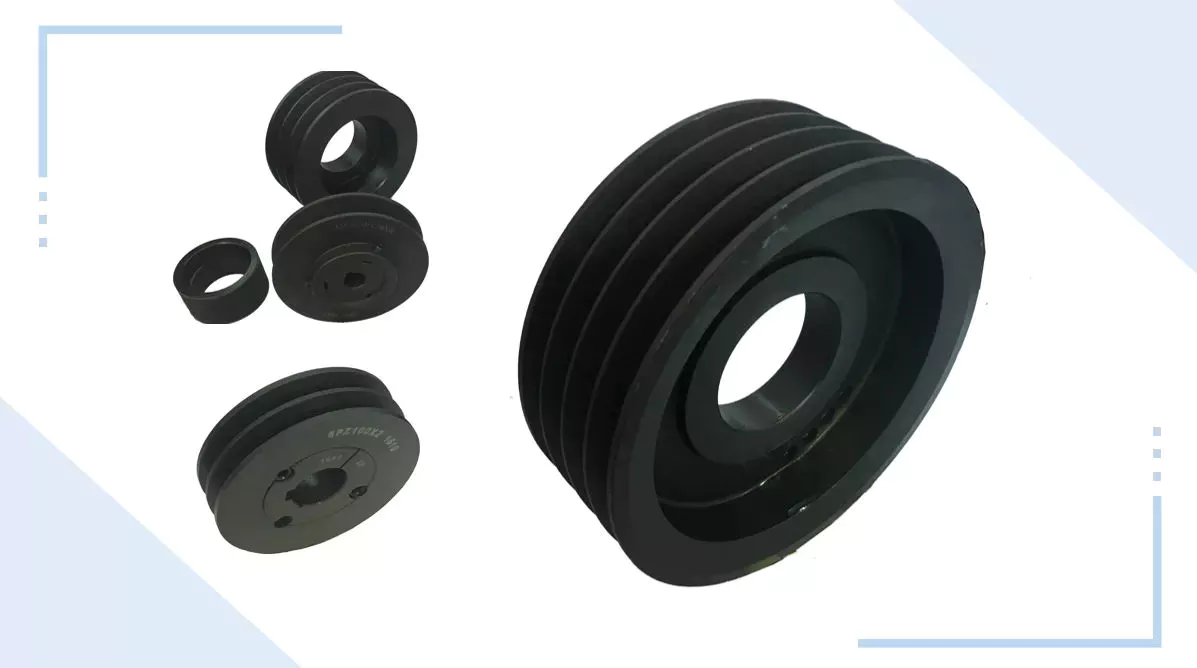
First, you need to locate the tensioner pulley in your vehicle’s engine. It is usually found on the front of the engine, attached to the engine block. Use your flashlight if you’re having trouble spotting it. It’s typically a wheel that’s attached to an adjustable arm.
Step 2: Checking the Current Alignment
Once you’ve located the tensioner pulley, use your straight edge to check its alignment. Place the straight edge flat against the tensioner pulley and the adjacent pulleys. If the straight edge doesn’t touch all points, it indicates that the tensioner pulley is misaligned.
Step 3: Adjusting the Tensioner Pulley
If you find that the tensioner pulley is misaligned, it will need to be adjusted. Using your wrench or ratchet and socket, loosen the bolt that holds the tensioner pulley in place. Next, carefully adjust the position of the tensioner pulley until it lines up with the adjacent pulleys. Once it’s aligned, tighten the bolt back up. Do not over-tighten it, as this could damage the tensioner pulley.
Step 4: Verifying the Alignment
After adjusting the tensioner pulley, use your straight edge again to verify the alignment. This step is crucial to ensure that the pulley is properly aligned. If it’s still misaligned, repeat Step 3 until it’s correctly lined up.
Step 5: Checking the Belt Tension
Once the tensioner pulley is aligned, you need to check the tension on the drive belt. Use your belt tension gauge for this. If the tension is too high or too low, adjust the tensioner pulley accordingly.
Conclusion
Learning how to align a tensioner pulley can save you from unnecessary vehicle breakdowns and costly repairs. Proper alignment ensures the optimal performance of your vehicle’s engine and prolongs the life of the drive belt. Although it may seem like a complex task, with the right tools and a systematic approach, you can successfully align your tensioner pulley and maintain the health of your vehicle.