What’s the process for regreasing a sealed final drive assembly?
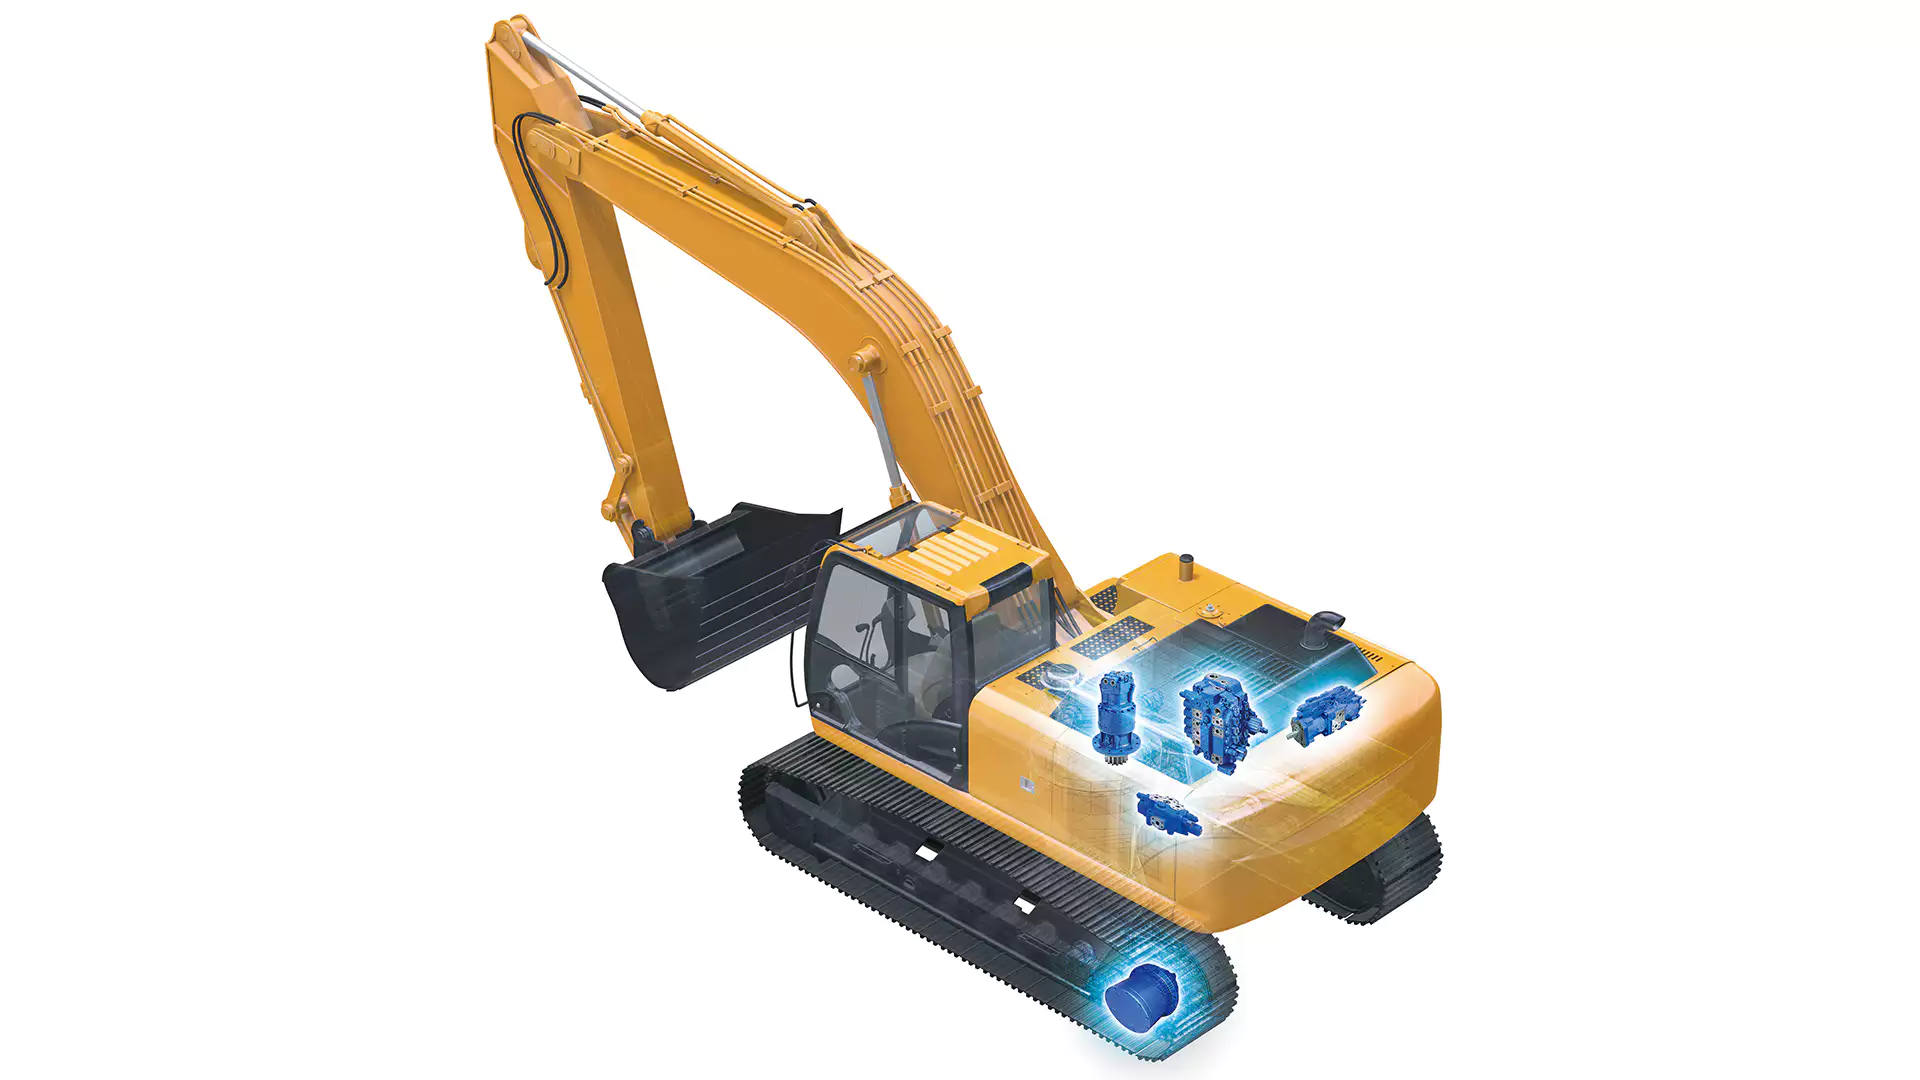
A sealed final drive assembly is an essential component of heavy machinery used in various industries. It contains all the necessary parts for driving the wheels or tracks of the vehicle, including the axle, bearings, gears, and hydraulic motor. This article will explain the step-by-step process of regreasing a sealed final drive assembly, along with other important information about its installation, maintenance, and troubleshooting.
1. Understanding the Sealed Final Drive Assembly
Before we dive into the regreasing process, it’s important to understand the components of a sealed final drive assembly. This section will provide a brief overview of the different parts and how they work together.
The two main components of a sealed final drive assembly are the planetary gear set and the hydraulic motor. The gear set consists of three to six gears that rotate around the central sun gear. The hydraulic motor is responsible for converting hydraulic pressure into mechanical torque, which powers the vehicle’s wheels or tracks.
The gear set and hydraulic motor are housed within a sealed casing filled with oil or grease. This sealing system prevents debris and other contaminants from entering the assembly and causing damage to the gears and bearings.
2. Preparing for Regreasing
The regreasing process requires a few tools and materials, including:
- Grease gun
- Appropriate grease for the application
- Clean rags
- Container for old grease
Before regreasing the assembly, it’s important to clean the exterior of the casing and remove any debris or contaminants that may have accumulated. Make sure to use a degreaser or solvent that won’t damage the seals or other components.
3. Removing the Old Grease
The next step is to remove the old grease from the assembly. This can be done by using a suction gun to extract the old grease from the fill plug or drain plug. Alternatively, the entire assembly can be disassembled and cleaned of old grease.
It’s important to inspect the old grease for any signs of contamination or wear. If the grease appears dirty or gritty, it may indicate that the gears or bearings are wearing down and need to be replaced.
4. Applying New Grease
Once the old grease has been removed, the next step is to apply new grease. Use the appropriate grease for the application, as specified in the manufacturer’s instructions.
The grease should be applied slowly and evenly, using a grease gun. Be sure to fill the assembly to the recommended level, which is typically indicated by a fill plug or sight glass. Overfilling the assembly can cause excess pressure and damage to the seals and other components.
5. Reassembling the Assembly
After the new grease has been applied, the assembly can be reassembled. Make sure to tighten all bolts and fittings to the recommended torque specifications, as specified in the manufacturer’s instructions.
Once the assembly is reassembled, it should be tested for proper function and any signs of leaks. If any issues are detected, they should be addressed immediately before operating the machinery.

Installation Guide for the Final Drive Assembly
The installation of the final drive assembly requires proper adaptation, step-by-step installation, and attention to detail. Follow the manufacturer’s instructions for proper installation, as well as any additional safety precautions.
The following steps provide a general overview of the installation process:
- Remove the old final drive assembly, if applicable.
- Clean the mounting surface and inspect for damage or wear.
- Prepare the new final drive assembly for installation, including filling with oil or grease.
- Align the assembly with the mounting surface and secure in place using the recommended bolts and fittings.
- Connect the hydraulic hoses and electrical connections, if applicable.
- Test the final drive assembly for proper function and any signs of leaks.
It’s important to note that the installation process may vary depending on the specific make and model of the machinery. Always refer to the manufacturer’s instructions for proper installation procedures.
Applications and Uses of Final Drive Assembly
Final drive assemblies are used in a wide range of heavy machinery, including excavators, bulldozers, and backhoes. These assemblies are typically used in applications where high torque and power are required for driving the vehicle’s wheels or tracks.
The specific installation location and function of the final drive assembly will depend on the type of machinery. However, some common applications include:
- Driving the wheels or tracks of an excavator or bulldozer
- Providing power for a backhoe or skid steer loader
- Powering the tracks on a crane or other heavy equipment
Daily Maintenance and Troubleshooting
Proper maintenance is essential for prolonging the lifespan and performance of the final drive assembly. Regular inspection and cleaning can help prevent damage and identify any issues before they become more serious.
Some recommended maintenance tasks include:
- Checking the oil or grease level regularly
- Inspecting for any signs of leaks or damage
- Cleaning the exterior of the assembly to prevent debris buildup
- Replacing the oil or grease as recommended by the manufacturer
If any issues are detected, it’s important to address them immediately to prevent further damage or safety hazards. Some common troubleshooting tips include:
- Checking the oil or grease level and adding more if necessary
- Inspecting for any signs of leaks or damage and repairing as needed
- Examining the gears and bearings for wear or damage
- Consulting the manufacturer’s instructions or a qualified technician for further assistance
By following these maintenance and troubleshooting tips, you can ensure that your final drive assembly remains in top condition and performs reliably for years to come.
Thank you for reading this article on the process of regreasing a sealed final drive assembly. If you have any questions or would like to learn more about our services, please don’t hesitate to contact us.
Author: Miya