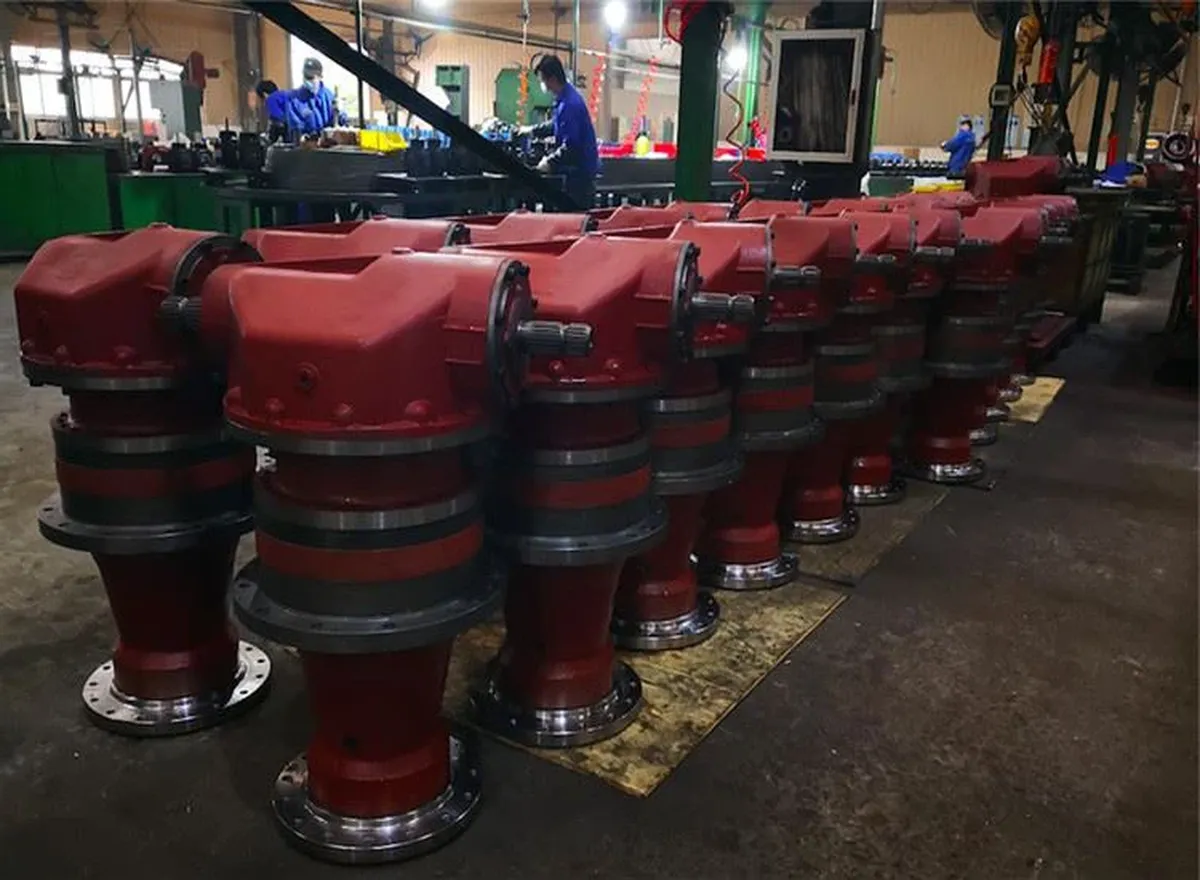
Installation Steps for Vertical Feed Mixer Gearbox
The vertical feed mixer gearbox is a crucial component in the efficient mixing of animal feed. This article will discuss the installation steps for a tractor PTO driven vertical feed mixer gearbox in detail.
1. Preparation and Safety
Before beginning the installation process, ensure that the tractor is off and parked on a stable, level surface with the parking brake engaged. It is essential to wear appropriate safety gear, such as gloves and eye protection, to avoid injuries during the installation.
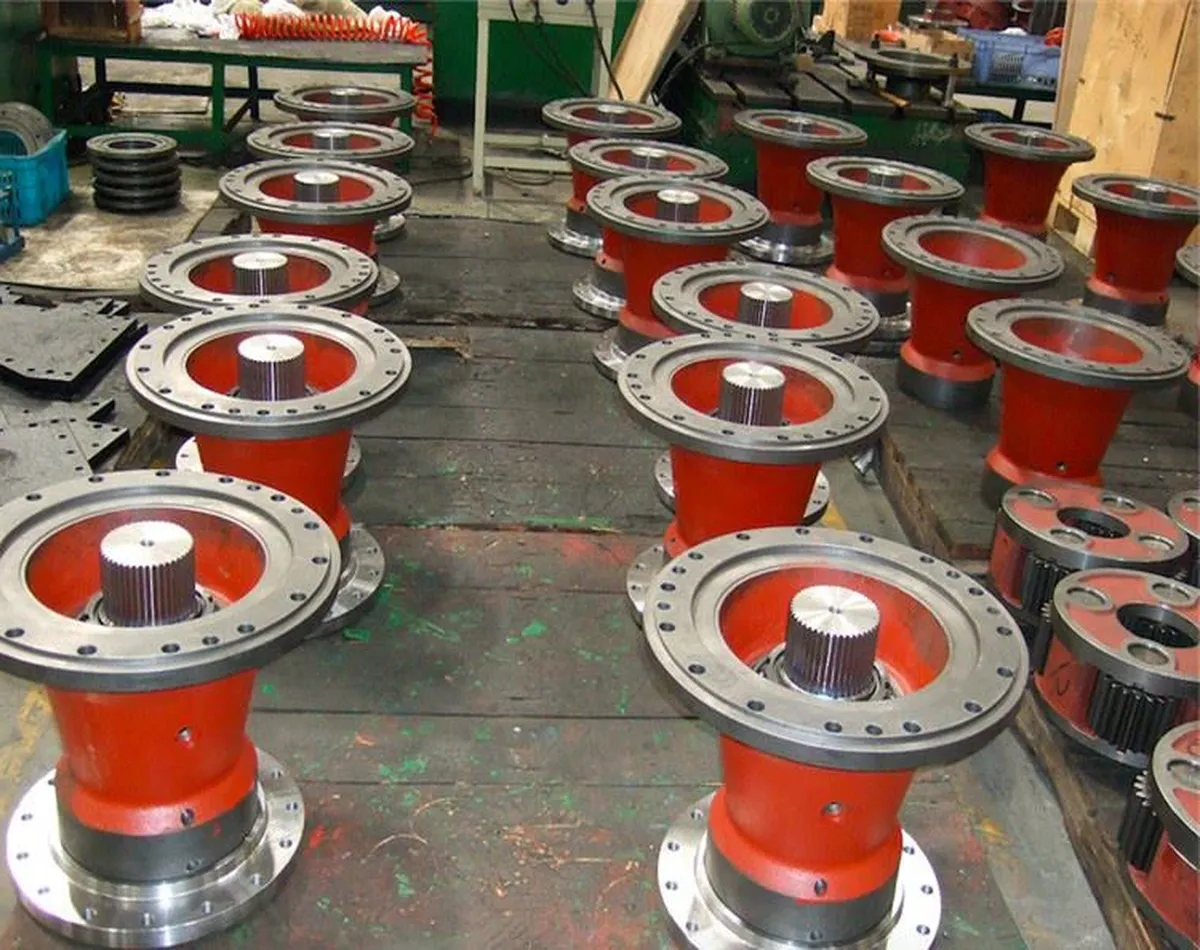
2. Mounting the Gearbox
Align and mount the gearbox onto the mixer frame by bolting it firmly in place. Check for proper alignment between the gearbox and the mixer’s drive components to prevent misalignment issues that can lead to wear and mechanical failures.
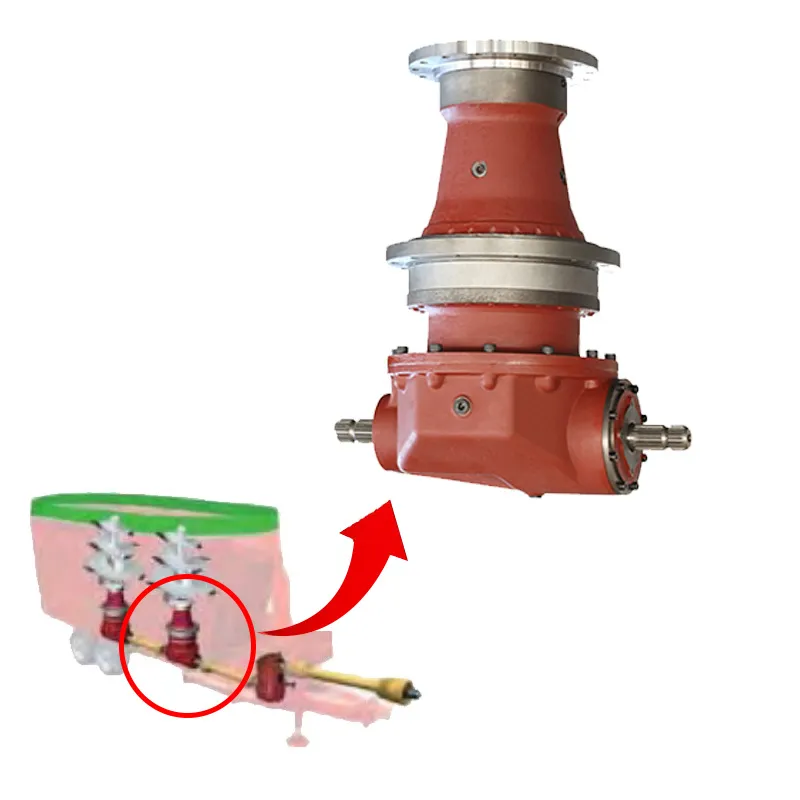
3. Connecting the PTO Shaft
Attach the PTO shaft from the tractor to the gearbox to transfer power from the tractor’s engine. Ensure the PTO shaft is of the correct length and properly aligned to prevent stress or damage. Secure all couplings and guard the shaft for safety.
4. Installing Driveline Components
Connect any driveline components, such as driveshafts or additional gears, between the gearbox and the mixing mechanism. Use locking pins and cotter keys to secure these components properly for efficient power transmission.
5. Lubrication
Ensure the gearbox is adequately lubricated according to the manual’s specifications before starting the mixer. Regular maintenance and checks will be necessary to keep the gearbox running smoothly and extend its lifespan.
6. Testing and Calibration
Perform a test run with the tractor at a low speed after installation to ensure everything is working correctly. Listen for unusual noises and check for vibrations that might indicate installation issues. Make adjustments as necessary for optimal performance.