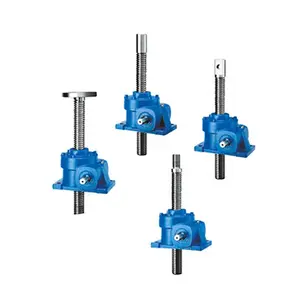
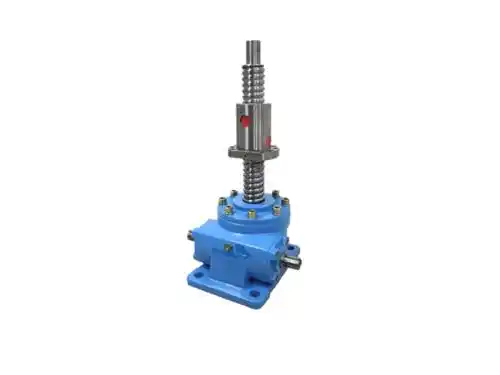
How to Mount a Screw Jack Securely to a Surface?
A screw jack, often referred to as a mechanical jack, is a crucial tool used in industries, construction, and even home projects. It is a device engineered to lift heavy loads or to apply great forces. Mounting a screw jack securely to a surface is vital for its optimal performance. In this article, we will delve into the step-by-step process of mounting a screw jack securely to a surface.
Understand the Importance of a Secure Mount
Before beginning the mounting process, it’s important to understand the significance of a secure mount. A securely mounted screw jack ensures stability during operation, minimizing the risk of accidents and enhancing the efficiency of the task at hand. It also prevents possible damage to the surface or the jack, prolonging the equipment’s life.
Choosing the Right Surface
The foremost step in the process is selecting the right surface. The surface should be sturdy and flat. It needs to withstand the weight of the jack and the load it will carry. Surfaces like concrete or metal are often chosen for their durability and strength.
Preparing the Surface
Once the right surface is selected, it must be prepared for the mounting process. The surface should be clean and free from any dust or debris. If the surface is uneven, it may need to be smoothed or leveled using the appropriate tools to ensure a strong mount.
Positioning the Screw Jack
After preparing the surface, position the screw jack. Ensure that the jack is centered and aligned properly on the surface. Using a level tool can assist in achieving the right alignment. The positioning of the screw jack is crucial to its stability and effectiveness.
Marking the Mounting Points
After positioning the jack, use a marker or a pencil to mark the mounting points on the surface. These points are where the screws or bolts will be placed to secure the jack to the surface. Ensure to mark accurately as these points will determine the stability of the mount.
Drilling the Holes
With the mounting points marked, proceed to drill holes into the surface. Use a drill bit that matches the size of the screws or bolts you will be using. This will ensure a tight fit and prevent any wobbling or instability of the screw jack.
Attaching the Screw Jack
After drilling the holes, place the jack back onto the surface, aligning it with the drilled holes. Insert the screws or bolts into the holes and tighten them securely. It is recommended to use a wrench or socket for this task to ensure a tight fit.
Testing the Mount
Once the screw jack is securely attached to the surface, it’s time to test the mount. Gently apply pressure to the jack to see if it moves or wobbles. If the jack is stable and does not move, the mount is secure. If it does move, additional tightening of the screws or bolts may be required.
Maintenance of the Screw Jack
After securing the screw jack, regular maintenance is crucial to ensure its longevity and optimal performance. This includes regular checks on the mount, ensuring that the screws or bolts are not loosening over time, and lubricating the jack as required.
In conclusion, mounting a screw jack securely to a surface requires careful planning, precision, and regular maintenance. By following these detailed steps, you can ensure that your screw jack is securely mounted and ready for use.