How to Make a Hydraulic Screw Jack
A hydraulic screw jack is an essential tool commonly used in construction, automotive, and other industries that require lifting heavy objects. This article will guide you step by step on how to build your hydraulic screw jack, ensuring it’s efficient and safe to use.
Understanding the Hydraulic Screw Jack
Before we delve into the process of making a hydraulic screw jack, it’s important to understand what it is and how it works. A hydraulic screw jack, also known as a hydraulic jack, operates based on Pascal’s principle, which states that pressure applied at one point of the fluid is transmitted to other points with the same intensity.
Materials Required
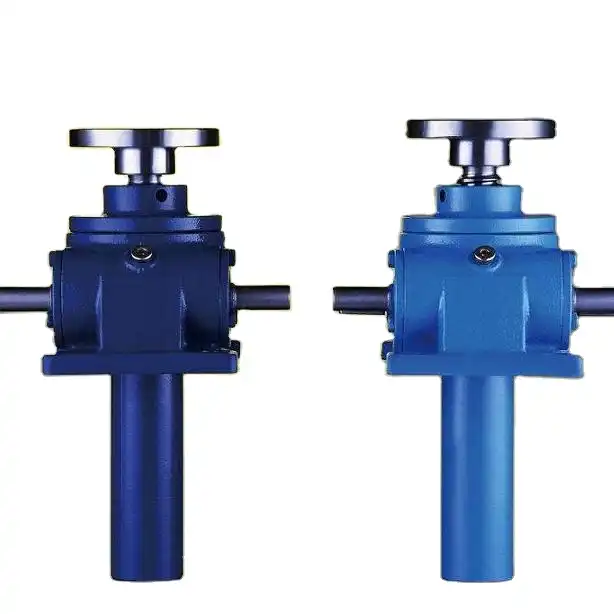
Building a hydraulic screw jack requires various materials. You’ll need a hydraulic cylinder, a screw, a base, a load cap, hydraulic fluid, seals, connectors, and a pump. Ensure all materials are of high quality to guarantee the efficiency and durability of your jack.
Steps to Build a Hydraulic Screw Jack
Building a hydraulic screw jack involves several steps. Follow these instructions carefully to ensure the safety and efficiency of your homemade hydraulic screw jack.
1. Assemble the Base and the Screw
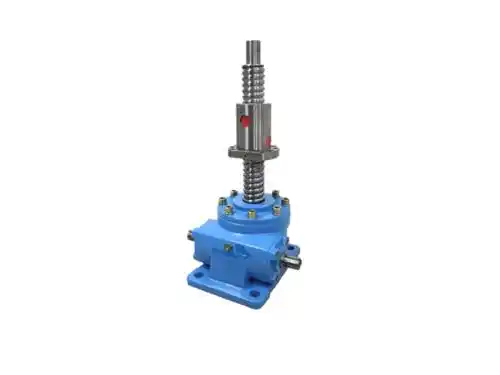
The base is the part of the jack that supports the weight of the object being lifted. Connect the screw to the base, ensuring the connections are strong and secure. This is because the screw is the part of the jack that moves up and down, lifting and lowering the object.
2. Install the Hydraulic Cylinder
The hydraulic cylinder is the core component of the hydraulic jack. It’s connected to the screw and filled with hydraulic fluid. When pressure is applied to the fluid through the pump, the fluid pushes the piston, causing the screw to move up and down.
3. Attach the Load Cap
The load cap is the part of the jack where the weight of the object being lifted rests. Attach the load cap securely to the top of the screw. This will also help to distribute the weight of the object equally across the jack.
4. Fill the Hydraulic Cylinder with Fluid
Once all parts are securely connected, fill the hydraulic cylinder with hydraulic fluid. The fluid is what allows the jack to lift heavy weights with ease. It’s important to use high-quality hydraulic fluid to ensure the jack operates smoothly.
5. Test the Hydraulic Screw Jack
After assembling all the parts and filling the hydraulic cylinder with fluid, the next step is to test the jack. Apply pressure to the pump and watch as the screw raises the load cap. Always test the jack with a weight that is within its capacity to prevent any damage.
Maintenance of Your Hydraulic Screw Jack
Maintenance of your hydraulic screw jack is crucial for its longevity and safe operation. Regularly check the jack for any leaks, ensure the hydraulic fluid level is sufficient, and clean the jack to prevent the accumulation of dirt and debris.
Conclusion
Building a hydraulic screw jack can be a rewarding project. It not only saves costs but also allows you to customize the jack to suit your specific needs. By following these instructions, you can create a hydraulic screw jack that is both effective and safe to use.
Remember, safety is paramount when using a hydraulic screw jack. Always use the jack according to its capacity and maintain it regularly to ensure it continues to operate efficiently.