How to Inspect and Replace the Spider Gears in a Final Drive Differential?
Final drive differential is a crucial component in the vehicle’s drivetrain system. It is responsible for transmitting power from the driveshaft to the wheels. The spider gears, also known as the pinion gears, play a vital role in the final drive differential. They are responsible for allowing the wheels to rotate at different speeds while turning and providing torque to the wheels. In this article, we will discuss how to inspect and replace the spider gears in a final drive differential.
1. Preparation
The first step in inspecting and replacing the spider gears in a final drive differential is to prepare the necessary tools and equipment. You will need a set of wrenches, a torque wrench, a gear puller, a bearing puller, and a new set of spider gears. It is also important to have a clean and well-lit workspace that is free of any debris or dirt.
2. Removing the Differential Cover
The second step is to remove the differential cover. The differential cover is usually located at the rear of the vehicle. Use a wrench to remove the bolts that secure the differential cover to the axle housing. Once the bolts are removed, carefully pry the cover off the housing using a pry bar. Be careful not to damage the gasket or the housing.
3. Inspecting the Spider Gears
Once the differential cover is removed, you can inspect the spider gears for any signs of wear or damage. Check for any cracks, chips, or missing teeth on the gears. It is also important to check the bearings and races for any signs of wear or damage. If you notice any issues with the spider gears, it is time to replace them.
4. Removing the Old Spider Gears
The next step is to remove the old spider gears. Use a gear puller to remove the gears from the differential carrier. Once the gears are removed, use a bearing puller to remove the bearings and races from the carrier.
5. Installing the New Spider Gears
The final step is to install the new spider gears. Start by pressing the new bearings and races into the carrier using a bearing press. Once the bearings and races are installed, carefully install the new spider gears into the carrier. Be sure to set the preload and backlash to the manufacturer’s specifications using a torque wrench.

Final Drive Differential Installation Guide
When it comes to installing the final drive differential, there are several factors to consider. It is important to ensure that the differential is compatible with the vehicle’s drivetrain system. The installation process may vary depending on the make and model of the vehicle.
1. Adaptability
Before installing the final drive differential, ensure that it is compatible with the vehicle’s drivetrain system. Check the manufacturer’s specifications to ensure that the differential is suitable for the vehicle.
2. Installation Steps
The installation steps may vary depending on the make and model of the vehicle. Consult the manufacturer’s manual for detailed instructions on how to install the final drive differential.
3. Precautions
When installing the final drive differential, it is important to take several precautions. Ensure that the differential is installed correctly and securely to prevent any issues. Use a torque wrench to tighten all bolts to the manufacturer’s specifications.
Final Drive Application and Usage
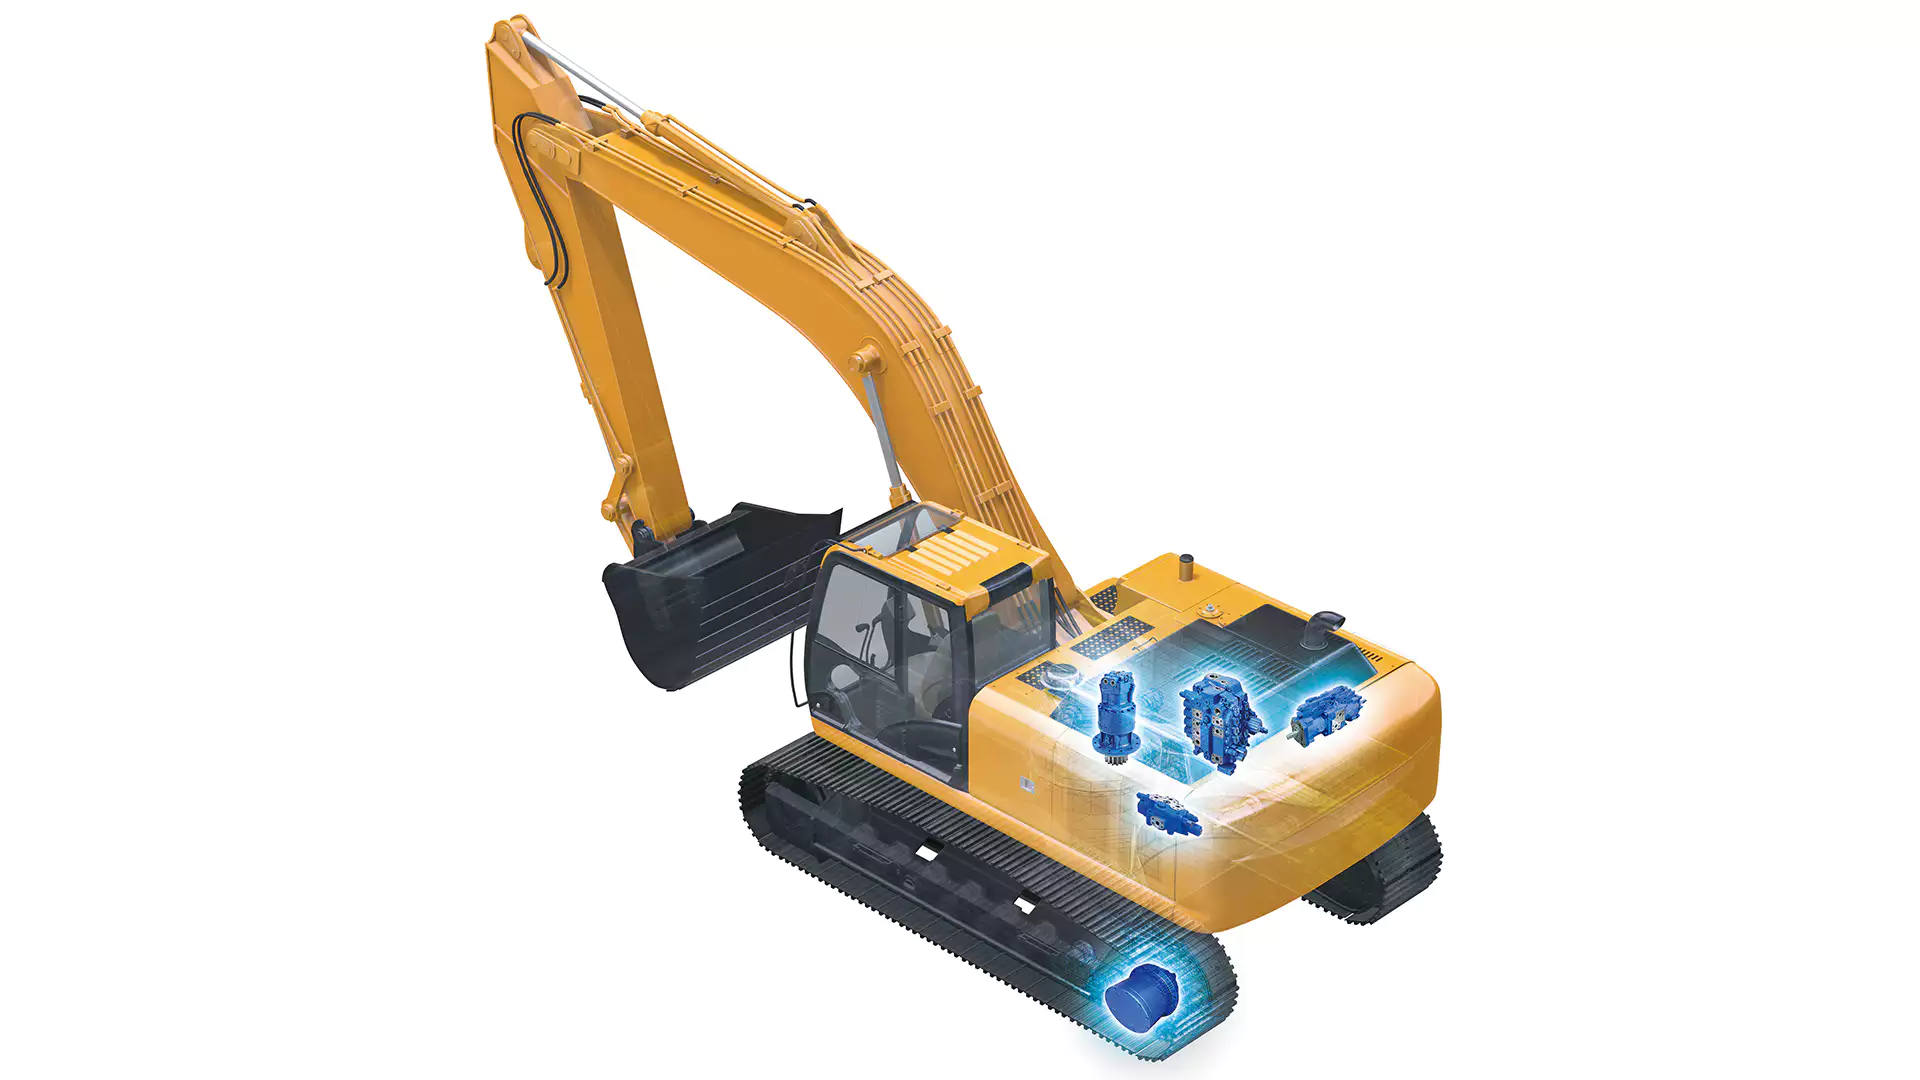
Final drive differentials are found in many types of vehicles, including cars, trucks, and heavy machinery. They are typically located at the rear of the vehicle and are responsible for transmitting power to the wheels. Final drive differentials are essential for vehicles that require high torque and power, such as off-road vehicles and heavy-duty trucks.
Daily Maintenance and Troubleshooting for Final Drive
1. Regular Inspection
Regularly inspect the final drive differential for any signs of wear or damage. Check the spider gears, bearings, and races for any issues. Replace any worn or damaged components as soon as possible.
2. Lubrication
Ensure that the final drive differential is properly lubricated to prevent any issues. Use the manufacturer’s recommended lubricant and change it regularly. Check the oil level often and top up if necessary.
3. Noise and Vibration
If you notice any noise or vibration coming from the final drive differential, have it inspected immediately. This could be a sign of a serious issue that requires immediate attention.
4. Leaks
If you notice any leaks coming from the final drive differential, have it inspected immediately. Leaks can lead to serious issues and can cause significant damage if left unaddressed.
By following these tips, you can ensure that your final drive differential is operating efficiently and effectively.
If you need any assistance with inspecting or replacing the spider gears in your final drive differential, please do not hesitate to contact us.
Author: Miya