How to Check Pulley Groove
A pulley system is an integral part of many machines, including automobiles, manufacturing equipment, and even household appliances. To keep these machines running smoothly, regular checks and maintenance of pulley grooves are essential. This guide will demonstrate how to check pulley groove, identify potential issues, and suggest appropriate solutions to maintain the efficiency and longevity of your pulley system.
Understanding the Function of a Pulley Groove
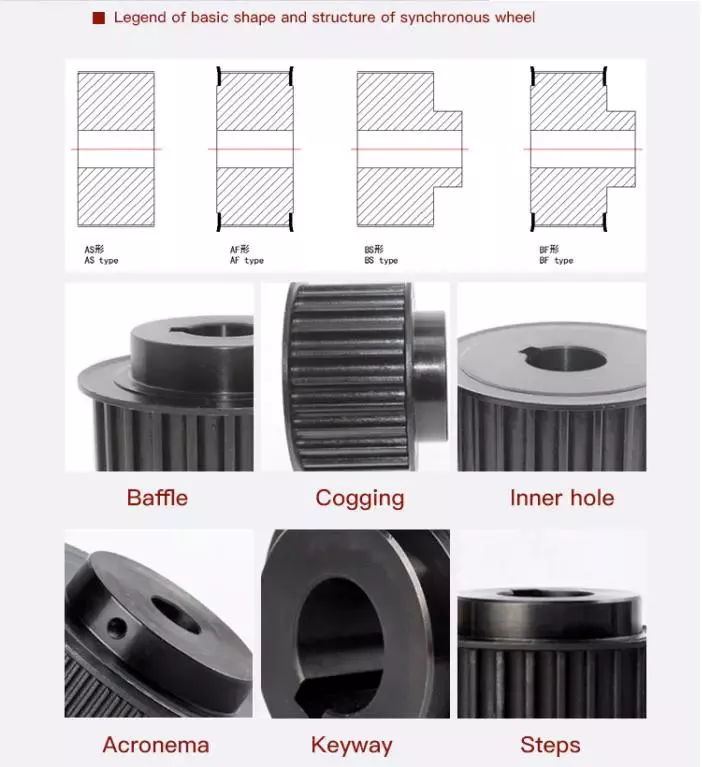
Before diving into the process of checking a pulley groove, it’s crucial to understand what a pulley groove does. A pulley is a simple machine that comprises a wheel and a rope or belt. The wheel, also known as a sheave, features a groove along its circumference where the belt or rope resides. This groove aids in guiding the belt or rope, preventing it from slipping off the wheel while the pulley system is operating. Given its critical role, a worn or damaged pulley groove can lead to decreased system efficiency or even total failure.
Tools Required to Check a Pulley Groove
Checking a pulley groove is a relatively straightforward process but requires some essential tools. These tools include a flashlight, a straight edge or ruler, and a wear gauge or a Vernier caliper, a device used to measure the internal and external dimensions of an object.
Detailed Process of Checking a Pulley Groove
Now that we’ve got our tools ready, let’s dive into the steps involved in checking a pulley groove.
Step 1: Safety First
Before you begin, it’s critical to ensure safety. Always turn off the machine and disconnect it from the power source. If you’re checking an automotive pulley, ensure the vehicle is turned off and cooled down to prevent burns.
Step 2: Visual Inspection
Start with a visual inspection of the pulley groove. Use your flashlight to closely examine the groove. Look for signs of wear, such as deep scratches, cracks, or an uneven surface. Also, check for any debris or foreign objects lodged within the groove, as these can cause wear over time.
Step 3: Measure the Pulley Groove
After the visual inspection, it’s time to measure the groove. Using your straight edge or ruler, measure the groove’s width at multiple points to ensure uniformity. If your measurements vary, this could indicate wear. To measure the groove’s depth, use your wear gauge or Vernier caliper. Compare your measurements to the manufacturer’s specifications to determine if there’s excessive wear.
Interpreting Results and Possible Solutions
If you observe signs of wear or your measurements indicate the groove is worn beyond the manufacturer’s specifications, it may be time to replace your pulley. Regular maintenance, such as cleaning the pulley groove and ensuring the belt or rope is not overly tight, can help prolong the life of your pulley.
Conclusion
Regularly checking the condition of your pulley groove is essential to maintain the efficiency of your machines and prevent potential issues. Whether you are a professional mechanic or a DIY enthusiast, this guide provides a comprehensive process of how to check pulley groove, helping you ensure the longevity and optimal performance of your pulley systems.