How to Change Idler Pulley on Ford F150
Performing a DIY project on your vehicle like changing the idler pulley on your Ford F150 can be a rewarding experience. Not only will you save on labor costs, but you’ll also get a better understanding of how your vehicle functions. This guide will provide you with a comprehensive step-by-step process to help you successfully accomplish this task.
Understanding the Role of an Idler Pulley
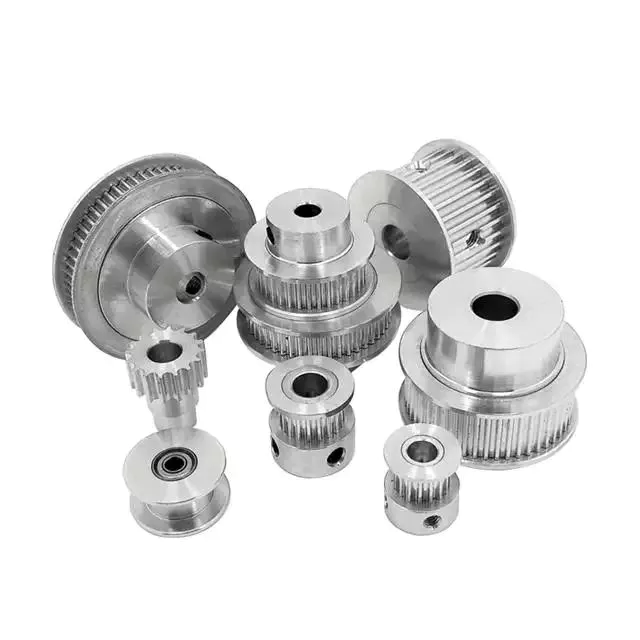
Before we delve into how to change the idler pulley, it’s crucial to understand its function. The idler pulley, also known as an idle pulley, is a component of the drive belt system in your Ford F150. It is responsible for maintaining tension in the drive belts, thereby ensuring the smooth operation of other engine parts like the alternator, water pump, and air conditioning compressor.
Identifying a Faulty Idler Pulley
Identifying a faulty idler pulley is the first step towards changing it. Some common symptoms that indicate a failing idler pulley include squealing noises from the engine, visible wear on the pulley, or a loosening or misalignment of the drive belt. Noticing these signs early can prevent further damage to your vehicle’s engine and other components.
Materials Needed for Changing an Idler Pulley
Like any other DIY project, changing an idler pulley requires some basic tools. You’ll need a wrench or a ratchet set, a socket set, a new idler pulley, and a drive belt if necessary. Ensure you have all these tools and parts at hand before you begin the process.
Step-by-Step Guide on How to Change Idler Pulley on Ford F150
The process of changing the idler pulley on your Ford F150 is not overly complex. With some patience and basic mechanical skills, you can accomplish it in a few steps. Here’s a step-by-step guide:
Step 1: Disconnect the Battery
Before you start any work on your vehicle, it’s essential to disconnect the battery to prevent any accidental electrical discharges. Locate the battery in your Ford F150 and disconnect the negative terminal. This will ensure your safety while working under the hood.
Step 2: Locate and Remove the Idler Pulley
The idler pulley is typically located on the front of the engine, adjacent to the drive belt. Using your wrench or ratchet, loosen and remove the bolt holding the pulley in place. Be sure to keep the bolt safe as you’ll need it to install the new pulley.
Step 3: Install the New Idler Pulley
With the old pulley removed, it’s time to install the new one. Place the new idler pulley in the same position as the old one and use the bolt you removed earlier to secure it in place. Ensure it’s tightly fastened but be careful not to overtighten as this could damage the pulley or the bolt.
Step 4: Reconnect the Drive Belt
Once the new idler pulley is secure, it’s time to reconnect the drive belt. Make sure the belt is correctly aligned on all the pulleys, not just the idler pulley. If you notice any signs of wear on the belt, consider replacing it at this stage to avoid future problems.
Step 5: Reconnect the Battery
With the new idler pulley installed and the drive belt reconnected, you can now reconnect the battery. Connect the negative terminal and ensure it’s secure. Once done, start the engine and check to see if the squealing noise or any other symptoms have disappeared.
Conclusion
Changing the idler pulley on your Ford F150 is a straightforward process that anyone with some basic mechanical knowledge and the right tools can accomplish. This guide has provided you with a detailed step-by-step process to help you do just that. Remember, regular maintenance of your vehicle can save you from costly repairs and ensure it runs smoothly for many years.