How to Assemble and Disassemble a Screw Jack
Understanding the process of assembling and disassembling a screw jack is not only essential for mechanical engineers, but also for individuals who love DIY projects. A screw jack, a device widely used to lift heavy loads or to apply great forces, can be a crucial tool in many situations. This article will guide you through the detailed steps of assembling and disassembling this essential device.
What is a Screw Jack?
A screw jack is a mechanical device used to lift heavy objects or apply substantial forces through the conversion of rotational motion into linear motion. It utilizes the concept of mechanical advantage, which allows a small force applied over a long distance to generate a significant output force over a short distance.
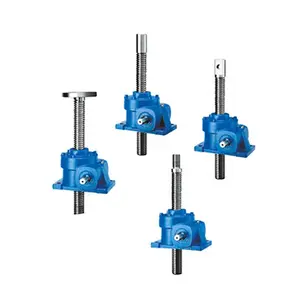
Components of a Screw Jack
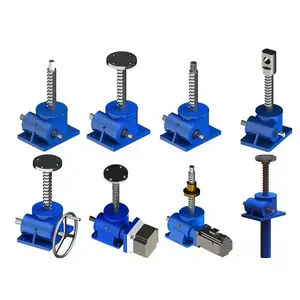
Before we delve into the assembly and disassembly process, it is crucial to understand the components of a screw jack. The primary parts include a screw, nut, thrust bearings, housing, and a handwheel or a motor. Each of these components plays a vital role in the operation of the screw jack.
Assembling a Screw Jack
Step 1: Inserting the Screw
Start by inserting the screw into the nut. The screw is the main component that supports the load and transfers the applied force. It needs to be placed correctly into the nut to function properly.
Step 2: Attaching the Thrust Bearings
Once the screw is in position, attach the thrust bearings on either side. The thrust bearings are essential in reducing friction and supporting axial loads.
Step 3: Securing the Housing
After installing the thrust bearings, secure the housing around the assembly. The housing encloses and protects the internal components of the screw jack, ensuring it functions correctly and efficiently.
Step 4: Connecting the Handwheel or Motor
Finally, connect the handwheel or motor to the screw. This component is responsible for the rotational motion applied to the screw, which is then converted into linear motion to lift the load.
Disassembling a Screw Jack
Step 1: Removing the Handwheel or Motor
Start the disassembly process by detaching the handwheel or motor from the screw. Be cautious not to damage the screw threads during this process.
Step 2: Removing the Housing
After detaching the handwheel or motor, remove the housing. Ensure to keep it safe as it is critical for protecting the internal components of the screw jack.
Step 3: Detaching the Thrust Bearings
Next, remove the thrust bearings from either side of the screw. Handle these parts carefully to prevent any damage.
Step 4: Removing the Screw from the Nut
Lastly, pull out the screw from the nut. The nut should now be free, marking the end of the disassembly process.
In conclusion, assembling and disassembling a screw jack might seem daunting at first, but with a clear understanding of the components and the step-by-step process outlined above, it becomes a manageable task. Remember, the key to a successful assembly or disassembly is patience and care to prevent any damage to the components.