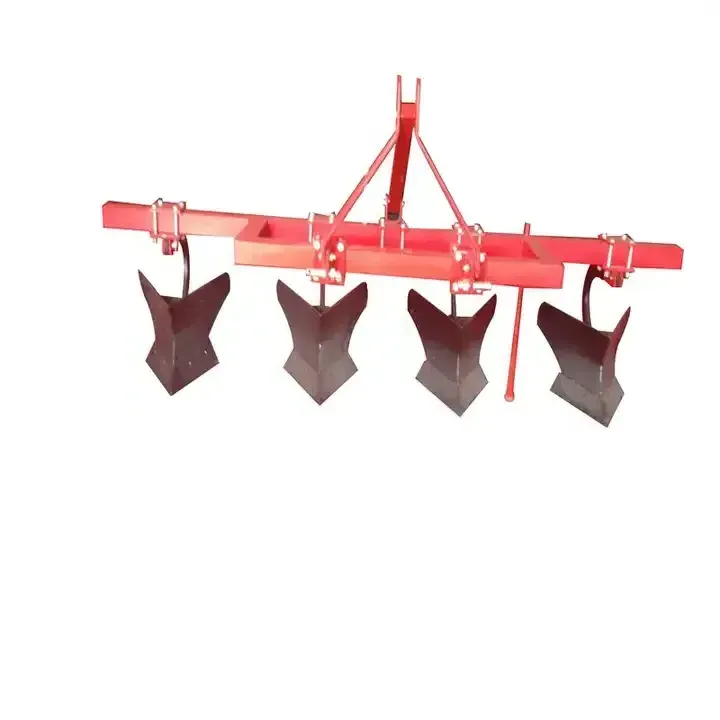
80 HP Tractor Mounted Heavy Duty Disc Ridger for Planting Chili Pepper
Introduction
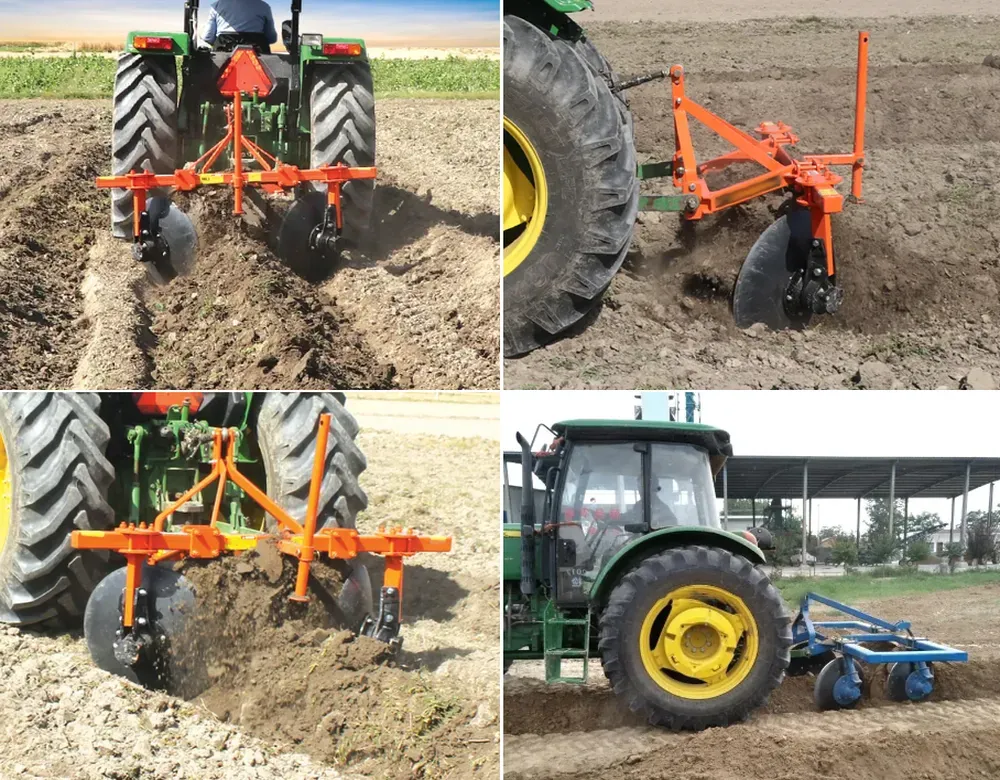
An 80 HP Tractor Mounted Heavy Duty Disc Ridger is a powerful agricultural implement designed for creating ridges or furrows in the soil to facilitate the planting of chili pepper crops. This innovative tool combines efficiency and durability to streamline the cultivation process and maximize crop yields.
Advantages
There are several advantages to using an 80 HP Tractor Mounted Heavy Duty Disc Ridger for planting chili pepper:
- Efficient Soil Preparation: The disc ridger cuts through the soil, lifts it, and creates ridges, providing an optimal planting environment for chili pepper crops.
- Uniform Ridge Formation: The ridger ensures consistent ridge formation, promoting even plant growth and improved crop quality.
- Enhanced Weed Control: By burying weeds and their seeds, the ridger helps reduce weed competition, leading to healthier chili pepper plants.
- Improved Soil Aeration: The ridging process breaks up compacted soil layers, enhancing air circulation and water infiltration for better root development.
- Adjustable Depth Control: The depth control mechanism allows for precise adjustment of the disc blades, ensuring the optimal planting depth for chili pepper seeds.
- Durable Construction: Made with high-quality materials, the disc ridger is built to withstand tough field conditions and provide years of reliable service.
Applications
The 80 HP Tractor Mounted Heavy Duty Disc Ridger is versatile and can be used for various agricultural applications:
- Row Crop Cultivation: The ridger is ideal for creating ridges or furrows for planting row crops like chili peppers, ensuring optimal spacing and soil conditions.
- Seed Bed Preparation: The ridger prepares seed beds by loosening and aerating the soil, facilitating seed germination and root growth.
- Soil Conservation: By creating raised beds, the ridger helps prevent soil erosion and improves water drainage, promoting sustainable farming practices.
- Land Reclamation: The ridger can be used to reclaim degraded land by breaking up compacted soil and enhancing soil fertility for agricultural production.
- Orchard Management: The ridger is effective for creating planting rows in orchards, optimizing space utilization and crop productivity.
- Tillage Operations: The ridger assists in primary and secondary tillage operations, preparing the soil for planting and ensuring crop success.
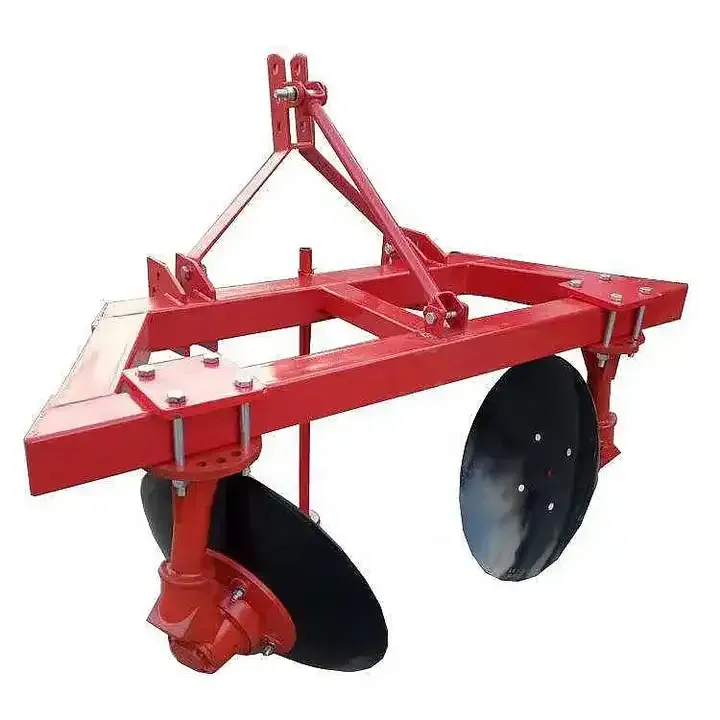
Key Components
A disc ridger consists of several key components that work together to create ridges for row crop cultivation:
- Disc Blades: The primary cutting elements made of high-quality steel for soil penetration and inversion.
- Frame: Provides structural support and durability during tillage operations.
- Disc Bearings: Ensure smooth disc blade rotation and longevity of the ridger.
- Axles: Connect disc blades to the frame for smooth rotation and alignment.
- Scrapers: Remove soil buildup on disc blades for efficient operation.
- Depth Control Mechanism: Allows precise adjustment of disc blade depth for optimal tillage.
- Hitching Mechanism: Connects the ridger to the tractor for secure attachment and power transmission.
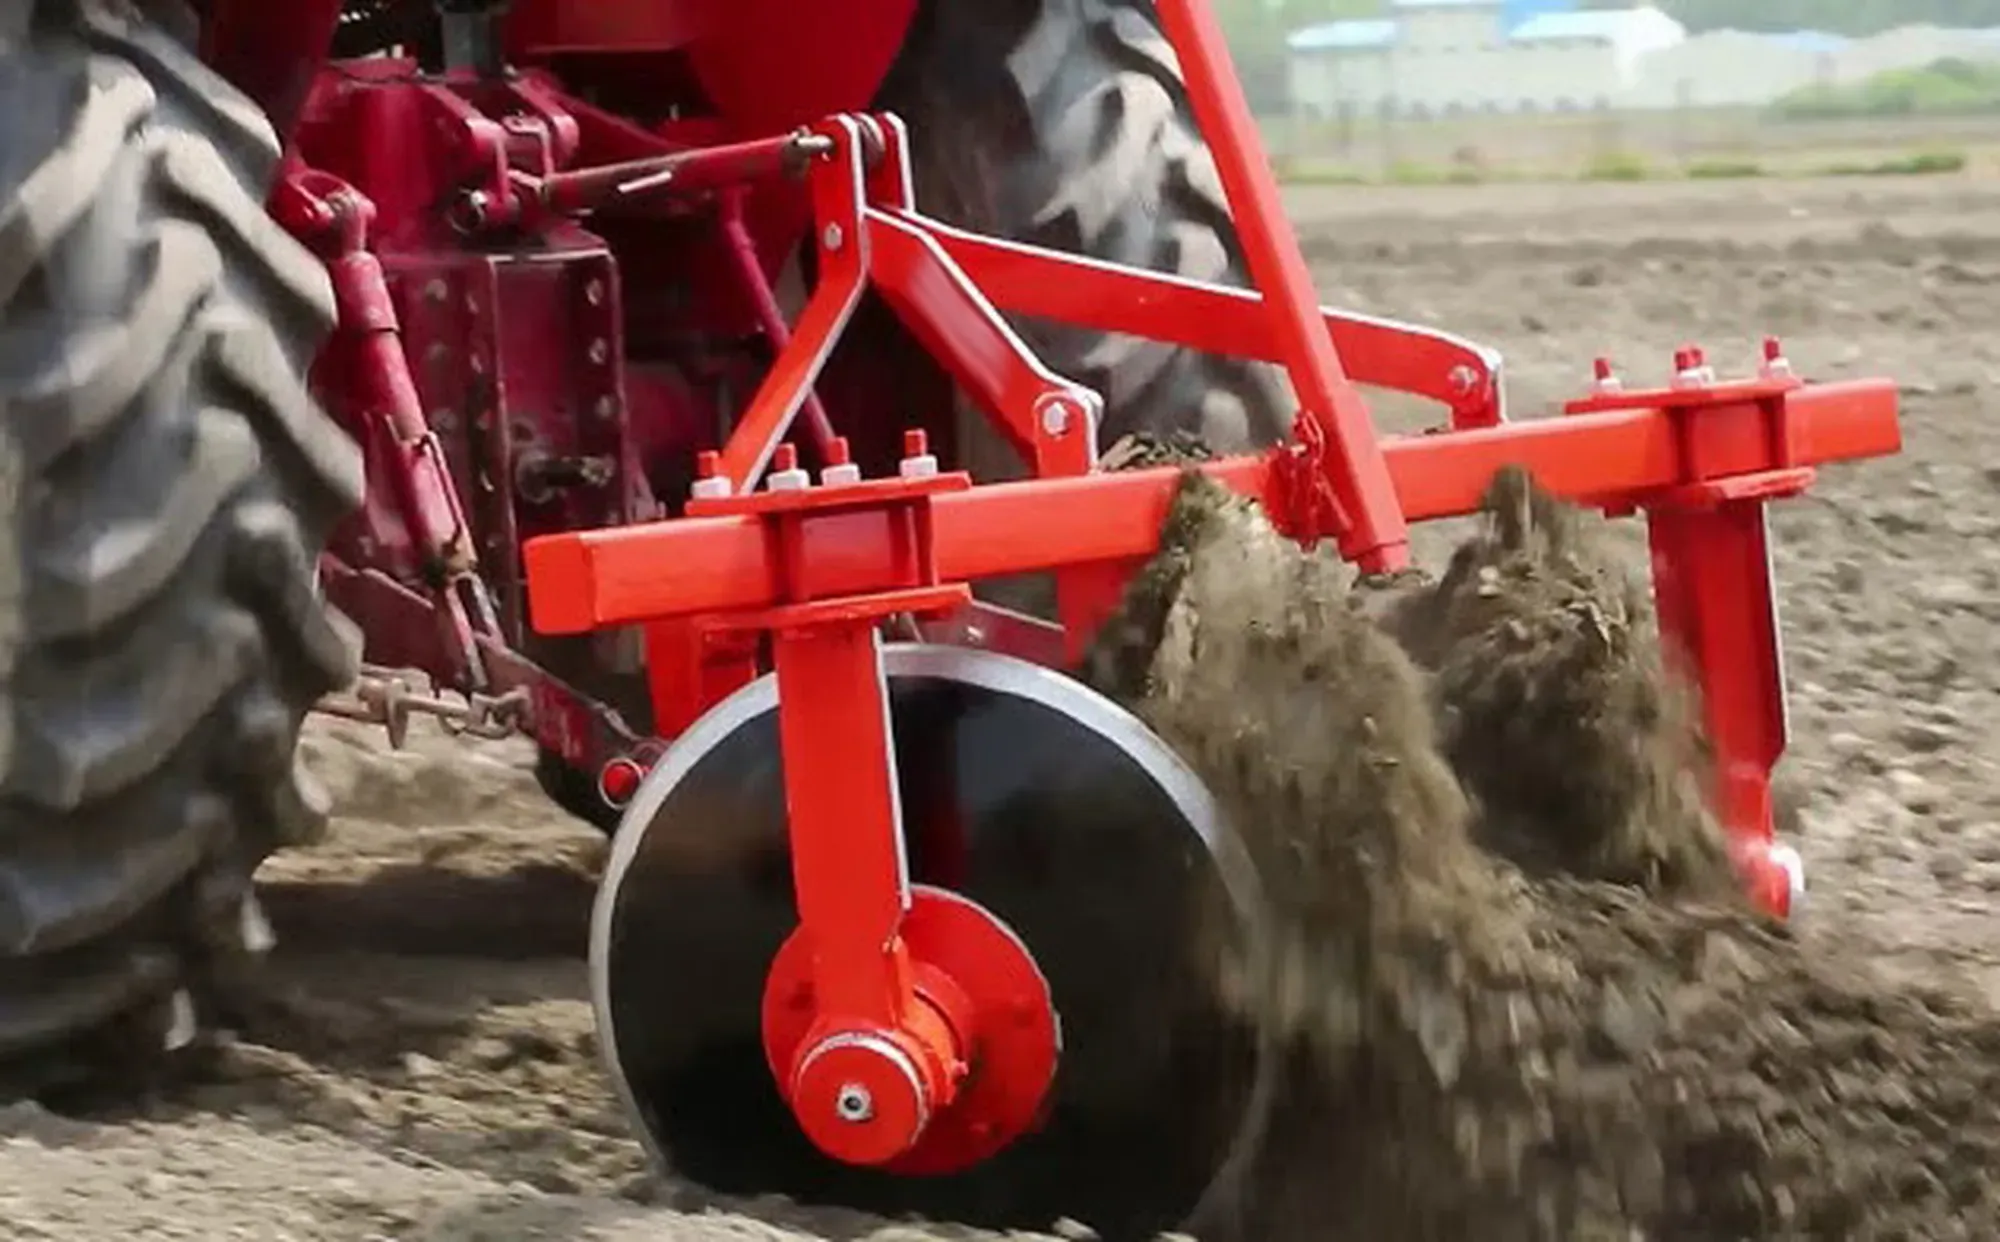
Working Principle
The working principle of a tractor-mounted disc ridger involves several key steps to create ridges for row crop cultivation:
- Attachment and Setup: The ridger is attached to the tractor using a three-point hitch system for stability.
- Tractor Movement and Power: The tractor provides the necessary force for disc blades to cut through the soil.
- Disc Rotation and Soil Cutting: The rotating discs slice through the soil, lifting it to create ridges.
- Ridge Formation: The discs push the soil outward to form ridges or furrows for planting.
- Weed Control: The ridger aids in burying weeds and their seeds, reducing competition for nutrients.
- Soil Aeration and Drainage: The ridging process enhances soil aeration and water infiltration for better root health.
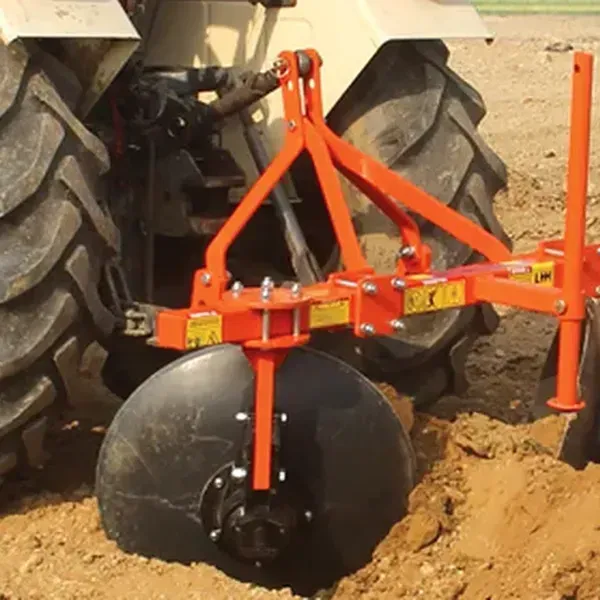
Installation Steps
Installing a disc ridger onto a tractor involves several key steps for proper attachment and functioning:
- Position the Tractor: Ensure the tractor is on a flat surface and check all components for damage.
- Align the Ridger: Position the ridger behind the tractor and align it with the three-point hitch.
- Attach Lower Link Arms: Connect the lower link arms for stability and support.
- Connect Top Link: Attach the top link to maintain correct alignment and angle.
- Check and Tighten Connections: Inspect all connections for security and tighten any loose bolts.
- Test the Setup: Lift the ridger using the tractor’s hydraulic system to confirm proper installation.
Why Choose EVER-POWER’s Disc Ridgers?
EVER-POWER is a leading manufacturer and supplier of disc ridgers known for their professionalism, international certifications, and customized services:
- Professionalism: Our company is committed to excellence, innovation, and customer satisfaction in the agricultural machinery sector.
- International Certifications: We adhere to international standards and certifications, ensuring high-quality products for global clients.
- Customized Services: We offer tailored solutions to meet specific agricultural needs and requirements.
- Production Facilities: Our state-of-the-art production facility is equipped with advanced technology for high-quality equipment manufacturing.
- After-Sales Services: We provide exceptional after-sales support to ensure customer satisfaction and product reliability.
- Diverse Product Line: Our extensive product range includes various agricultural equipment to meet the diverse needs of our clientele.

Author: Yjx